1.
The
first Step is to create a toolbox for the model to live in and set the
workspace environment to the results folder for the module.
2.
Then
the model is created and named appropriately
3.
For
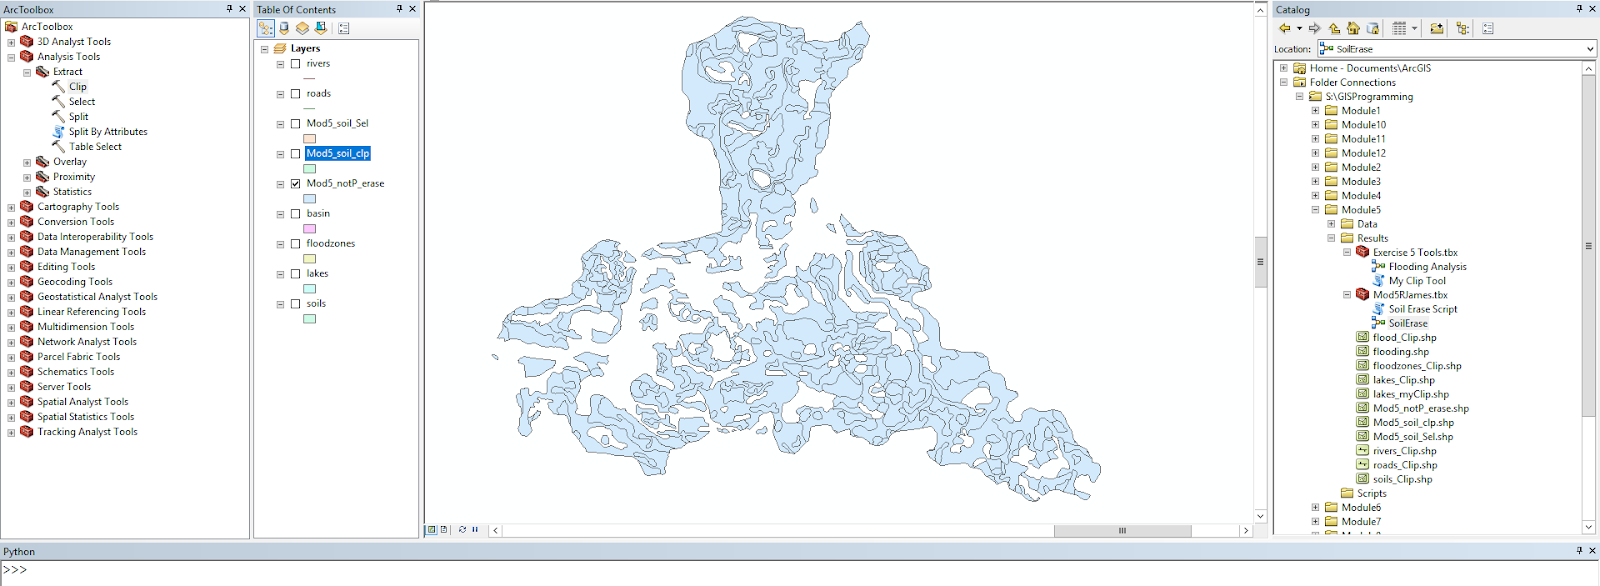
this model the input shapefiles were added by dragging directly from the ArcGIS
table of Contents
4.
The
tools, Clip, Select, and Erase were all added by dragging them into the window
from the toolbox.
5.
Then
the connections were made by filling each tool with the required parameters or
shapefiles (inputs/outputs).
These steps resulted in the following flowchart and map results.

No comments:
Post a Comment